


How to Use the atolla USB 3.0 HDD Docking Station?
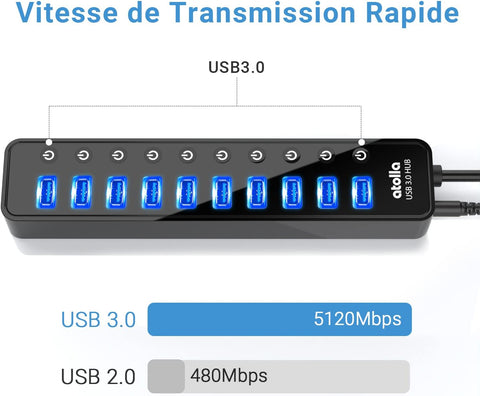
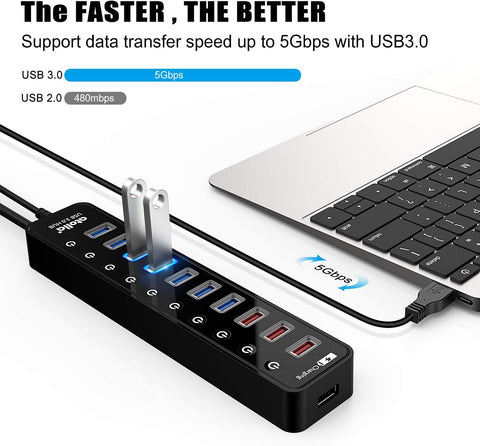
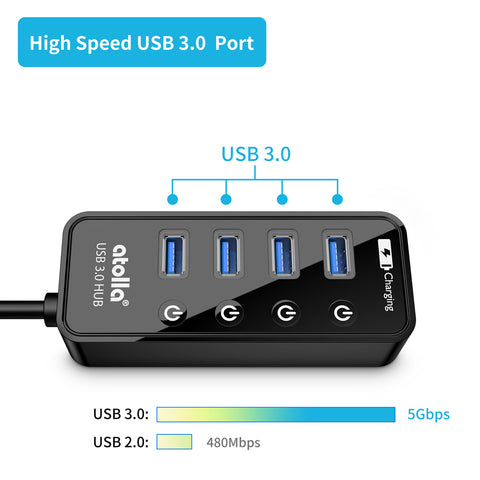
atolla CH-326U3S USB 3.0 HDD docking station provides access to your 2.5”/3.5” SATA Hard Drives or SSD in a way easier than ever before. Thanks to the lightning transfer speed of USB 3.0 technology, you can quickly transfer files up to 5 Gbps!
Features of the products:
- atolla CH-326U3S docking station is made of highly durable ABS plastic material with the scratch-resistant matte surface.
- The open Docking Bed① design provides better heat dissipation and stable operation.
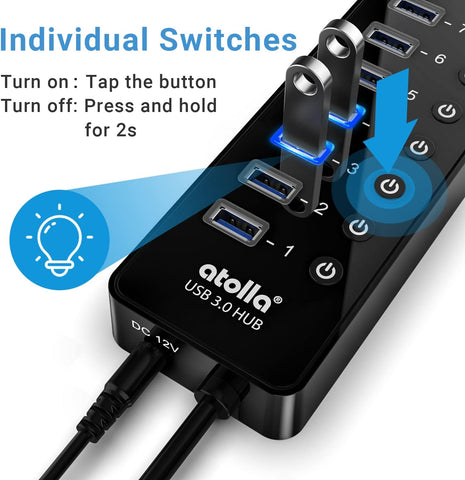
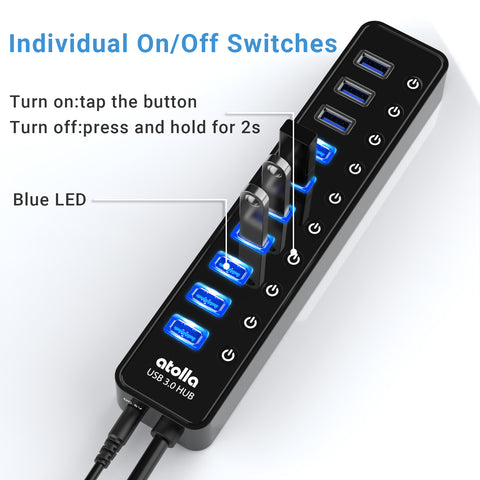
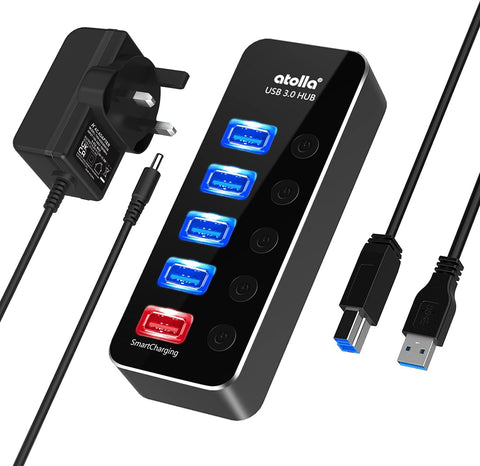
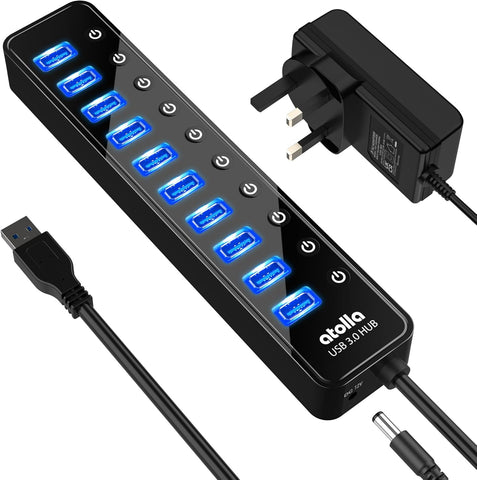
- One single touch on Power Switch② to turn it on and two LED indicators (Power Indicator③ & HDD Status Indicator④) let you know how is the docking station working.
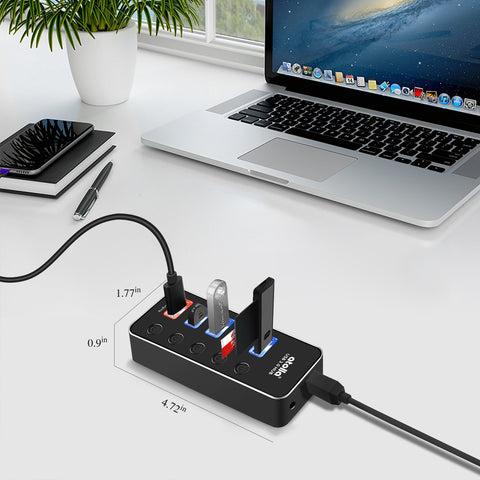
- Included in the package, the USB 3.0 cable connects your laptop/computer via USB 3.0 Port⑤, and the AC Power adapter provides 24W (12V/2A) power via AC Power Jack⑥.
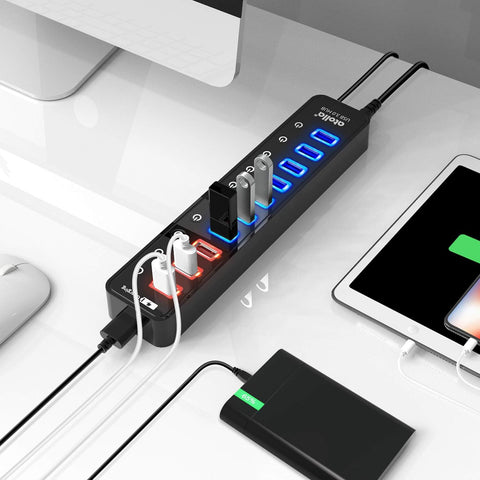
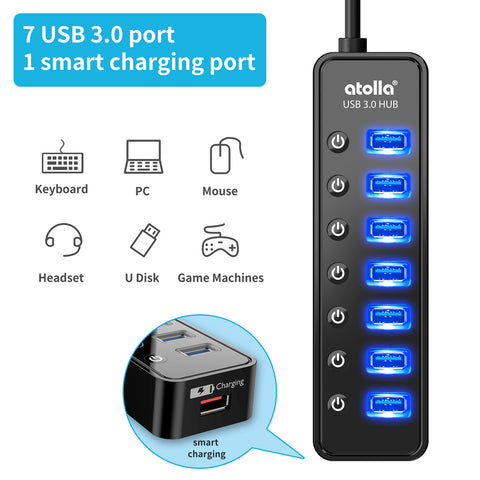
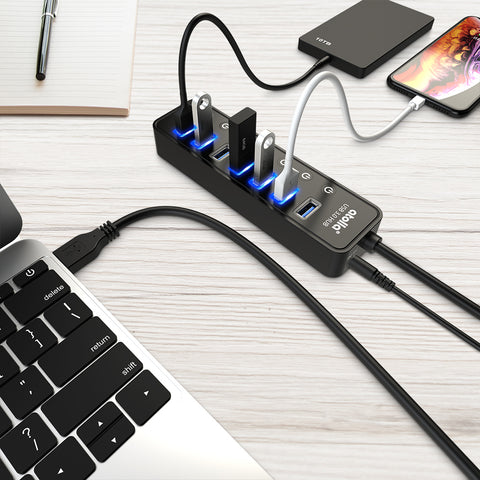
- There are another 2 USB Ports⑦ for Data/Charge Purpose. It extends Computer USB host for extra USB accessories, such as the keyboard, mouse, printer and webcam, etc. Additional, these 2 USB ports are charging ports capable of providing up to 1.5amps for fast charging mechanism.

Installation
- Carefully align and slide the HDD into the Docking Bed.
- It is highly recommended to fasten the drive by installing the Mounting Screws, avoiding accidental disconnection.
- Connect the docking station to your computer or laptop using the included USB 3.0 Cable. Connect the docking station to a power source using the included Power Adapter.
- Press the Power Switch to turn the docking station on. When powered, the Power Indicator stays on; While data transferring, the HDD Status Indicator will blink.

Troubleshooting
First, try these basic troubleshooting steps:
-
Verify the Power Indicator is on
-
Try a different USB port
-
Try a different USB cable
-
Try a different computer
-
Try a different power outlet
-
Plug adapter directly into the wall if in a power strip
-
If the problem persists, try these advanced troubleshooting solutions:
For Windows:
1. check if Windows detects your USB device:
Open Device Manager, and try to disconnect and re-connect the USB device from your computer. You should see a device disappear and appear again from Device Manager.
If a yellow ! icon is displayed next to it, please try to reload the USB drivers for windows OS.
If the problem persists, the hard drive has most probably failed. Please contact hard drive after-sales services.
**NOTE: To open Device Manager, press the Windows key + R, type devmgmt.msc, and click OK.

2. Check the drive status in Disk Management:
Open Disk Management and check if the drive is listed with unallocated space. If so, the hard drive needs to be reformatted. Backup your data and complete reformatting.
**NOTE: To open Disk Management, press the Windows key + R, type diskmgmt.msc, and click OK.

3. If the drive is listed as healthy, but windows cannot detect it:
Remove it from the docking station and open Disk Management.
If there is one session listed as “Removable Disk, no media”. It indicates the docking station is working fine. But your hard drive may have a corrupted Boot Sector. You can try some partition repair tools or find a technician.
4. If the hard drive is listed as healthy but does not have a drive letter, for example, C:
right-click healthy and click Change Drive Letter and Paths. Click Add, assign a drive letter and click OK.
For Mac OS X:
If the drive is not showing on your desktop or within Finder check disk utility.
Select a disk in the sidebar, then click the First Aid button. If Disk Utility tells you the disk or volume is about to fail, back it up and replace it. You can’t repair it.
If Disk Utility reports that the disk appears to be OK, you’re done.
Otherwise, you need to repair the disk.

If you discover a defect, please send an email to support@atolla.us, and we will respond to you as soon as possible.